As we begin detailing the components of an energy efficient house for the Chicagoland area, we need to decide which level of efficiency to design for. This was discussed in the previous article “how green to go”.
The client for the house wants to achieve energy savings while using conventional construction techniques with some new details and materials to improve energy performance. They do not necessarily want to build to the level of net zero. They also want to spend a reasonable amount of money with an eye to achieving a timely payback to their cost investment in their home. Based on this, we have decided to design to the LEED for Homes standards. While acknowledging the value of obtaining formal certification, for this project the client wants to use the standards as a guideline only.
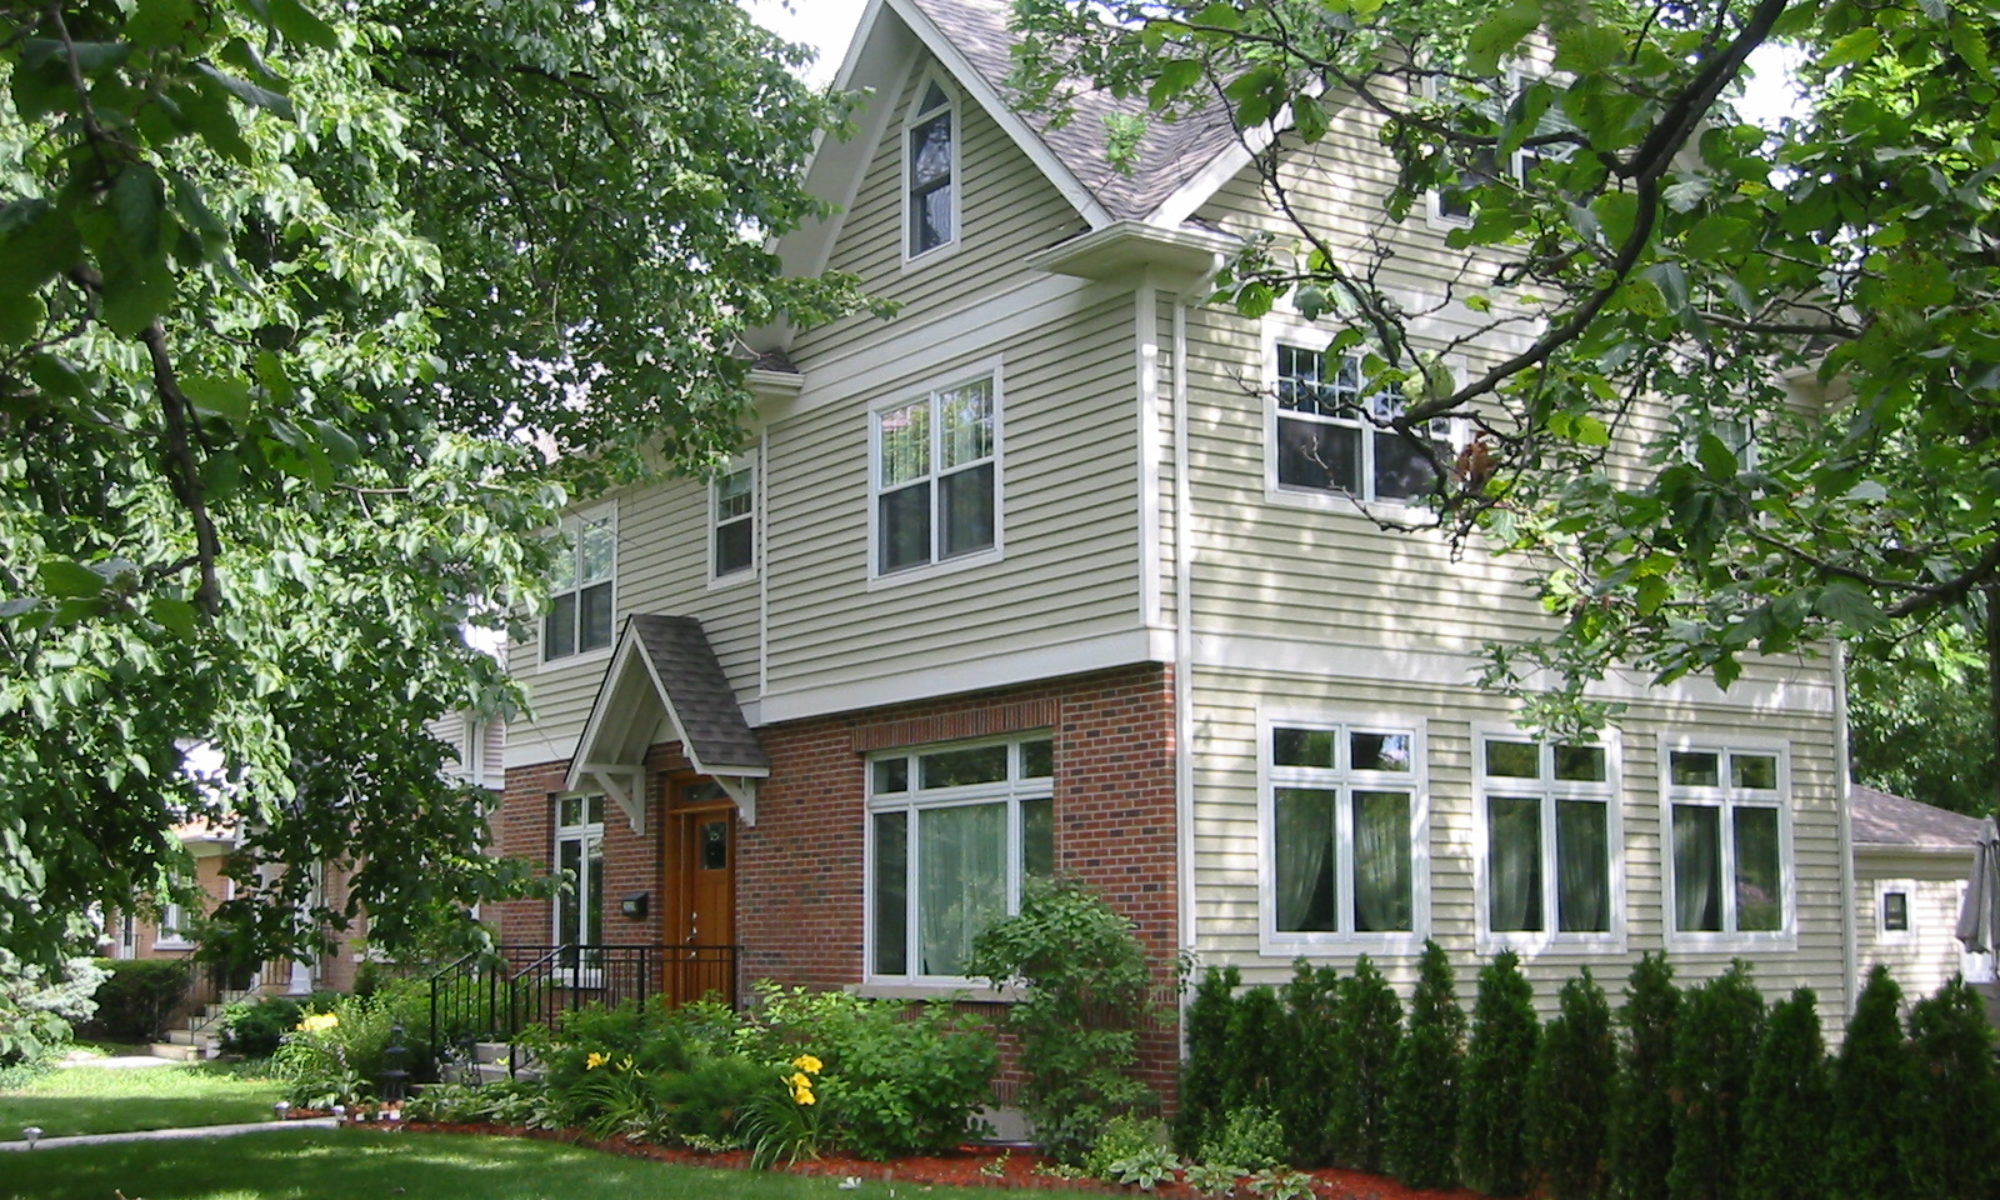
The house itself is fairly compact. It will have a basement of 1,160 sf, first floor of 1,160 sf and a second floor of 1,292 sf, with access to a rooftop deck space. There are 3 bedrooms and 2 baths. The design is contemporary in appearance. In examining the energy efficient features of the house, we will work our way from the outside-in.
We begin with the building envelope, which is the outer layer of the house. It includes the foundation, walls and roof. In order to save energy, the goal is to build an envelope that is as airtight and well insulated as possible so that the conditioned air stays inside the envelope and inclement weather stays outside.
Let’s start with the foundation. For our location, a conventional basement has a concrete foundation wall, footings and floor slab. It is generally common practice not to provide insulation on the concrete wall or under the slab. These areas can be significant sources of heat loss or gain and need to be insulated. The wall also needs to be well drained and sealed to prevent the intrusion of water. To take care of this, use 2” of closed cell extruded polystyrene rigid insulation board on the exterior of the wall placed over a fluid applied waterproofing membrane (not just the typical asphaltic damproofing). For the interior finish wall, use 1” of rigid insulation applied to the concrete wall. Over this use a 2×4 stud wall with a pressure treated sill plate and fiberglass batt insulation, finished with 5/8” drywall. The underside of the slab should also be insulated, especially when using radiant floor heat in the slab, with 1 1/2” rigid insulation, placed over a polyethelene vapor barrier over a 4” gravel base. The slab is reinforced with wire mesh or fibermesh mix.
To remove water around the foundation, a perimeter drain line wrapped with geotextile fabric and covered by gravel must be placed on the exterior and interior of the footing. Window well drains are also connected to the line. This line is connected to a sump pump which discharges water away from the building.
Regarding the concrete material itself, the production of the cement in the concrete requires a lot of energy, which has an environmental impact. Substituting fly ash, a power plant by product, for some of the cement has been shown to improve the strength of concrete and also recycles an industrial waste product. Typically, 15 % fly ash is added to the mix. Finally, to provide a finished appearance to the rigid insulation, an exterior insulation finish coating which looks like stucco is applied over the exposed insulation.
The insulation R values for the systems are R-29 for the wall (3 inches of extruded polystyrene at R-5 per inch equals R-15 plus R-13 fiberglass batt plus about R-1 for a 10” concrete wall. The floor is R-7.5 (1 1/2 inch of extruded polystyrene). As you can see, this is a significant increase over concrete alone.
In the next article I’ll go over the exterior framing system.

